

How To Make A Transparent Text Box In Word
This tutorial shows y'all how to create transparent text in Photoshop, allowing the image behind the text to prove through the letters! A footstep by step tutorial for Photoshop CC, CS6 and earlier.
Need to add together text to an image just there's just no practiced place to put information technology? Effort adding it as transparent text in Photoshop! In this tutorial, I'll testify you how to easily create a transparent text expanse, significant that the type itself will be fully transparent, assuasive the paradigm below information technology to prove through. We environs the text with a block of solid colour, usually white, to reveal the shapes of the messages. The transparent text and then becomes a frame for our subject! This is a great design play a trick on for images that are also busy for text to be easily readable.
Creating transparent text in Photoshop is easy. We get-go by adding a new layer in a higher place the paradigm and filling it with white. Then, we add our text. To make the text transparent, we use Photoshop's Avant-garde Blending options (don't worry, they're very unproblematic "avant-garde" options) to turn our Blazon layer into a "Knockout" layer which punches holes right through to the image in the shapes of our letters!
Here'due south what the transparent text area volition look similar when we're done:
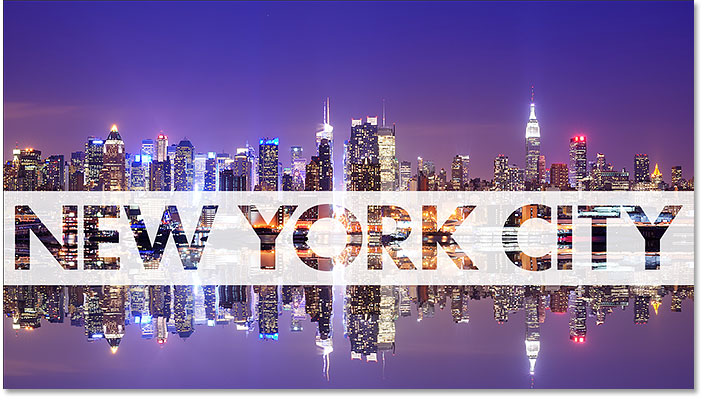
The transparent text upshot.
Let's go started!
How To Add together Transparent Text
I'm using Photoshop CC just every step is uniform with Photoshop CS6 and earlier. For another way to create transparent text, bank check out my new Add Transparent Text with Layer Effects tutorial.
Stride 1: Open Your Prototype
Start by opening the image where you want to add some transparent type. I downloaded this image of the New York skyline from Adobe Stock:
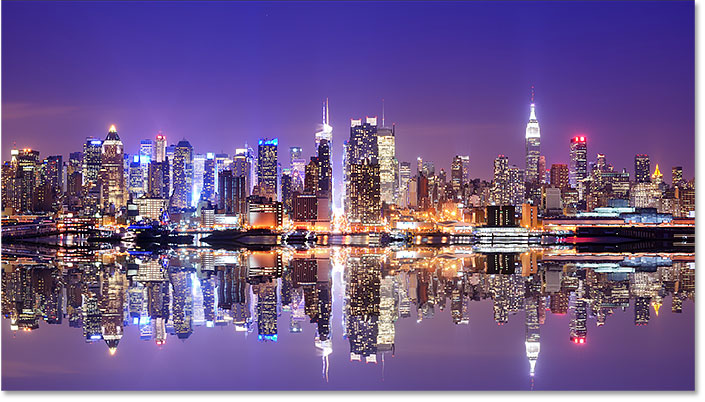
The original image. Photograph credit: Adobe Stock.
Step 2: Add A New Layer
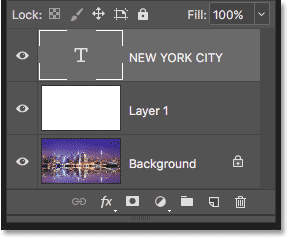
In the Layers console, we see the prototype on the Background layer. Add together a new blank layer above the epitome by clicking the New Layer icon at the lesser of the Layers panel:
Clicking the "New Layer" icon.
A new layer named "Layer 1" appears above the Background layer:
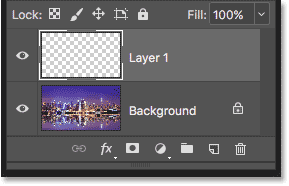
The new layer is added.
Stride iii: Fill The New Layer With White
Nosotros'll use this layer to create the area of white that will environs the text. Fill the layer with white by going up to the Edit menu in the Menu Bar and choosing Fill:
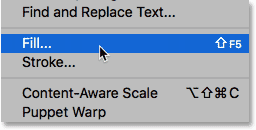
Go to Edit > Fill.
In the Fill dialog box, ready the Contents option at the pinnacle to White, and and then click OK:
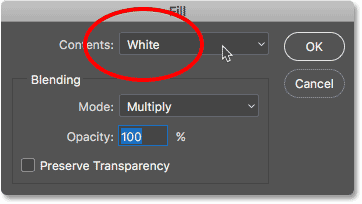
Choosing White as the fill color.
Photoshop fills the layer with white, temporarily blocking the prototype from view:

The new layer is now filled with white.
Step iv: Lower The Layer Opacity
Lower the opacity of "Layer 1" to 75%. The Opacity option is constitute in the upper right of the Layers console:
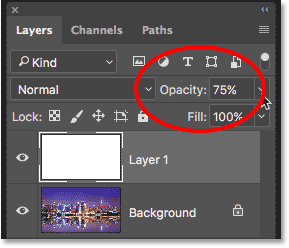
Lowering the opacity of "Layer 1" to 75%.
With the opacity lowered, the image now partially shows through then nosotros tin can see information technology as nosotros're adding the text:
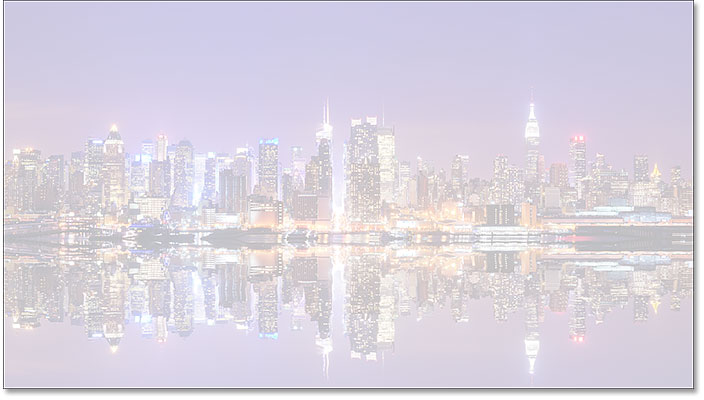
The image now shows through "Layer 1".
Pace v: Select The Type Tool
Select the Blazon Tool from the Toolbar:
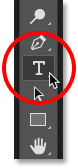
Selecting the Type Tool.
Stride 6: Choose Your Font
Cull your font in the Options Bar. I'll use Futura PT Heavy which I downloaded from Adobe Typekit, simply whatever font will work:

Choosing the font in the Options bar.
Still in the Options Bar, gear up the font size to 72 pt. We'll demand to resize the text one time we've added information technology, but this will give us the largest preset size for now:
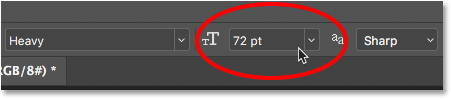
Setting the font size to 72 pt.
Footstep vii: Fix The Blazon Color To Black
Make sure your type colour is prepare to black past pressing the letter D on your keyboard, which resets the color to its default. This is just and so we can meet the type in front of the white background. The current font color is found in the color swatch in the Options Bar:
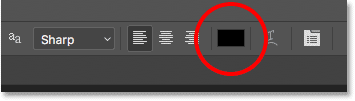
The type color swatch in the Options Bar.
Pace 8: Add Your Text
Click inside the document and add your text. I'll blazon the words "NEW YORK Metropolis":
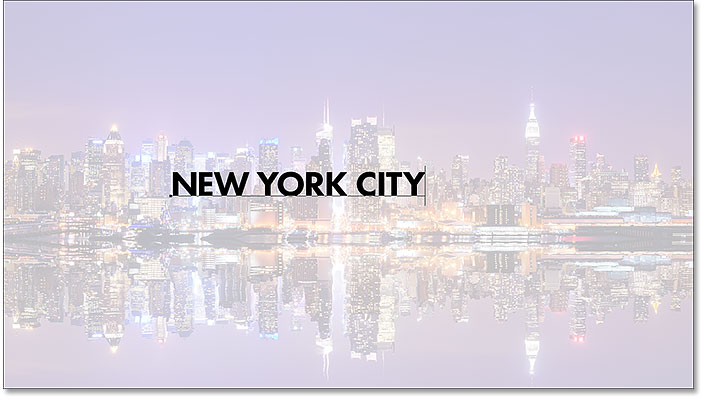
Adding text to the epitome.
Click the checkmark in the Options Bar to accept it:
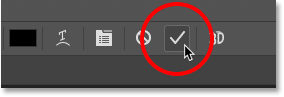
Clicking the checkmark to accept the text.
In the Layers panel, the new Type layer appears above "Layer one":
The Layers panel showing the new Type layer.
Step 9: Resize The Text
Go up to the Edit carte du jour in the Card Bar and choose Free Transform:
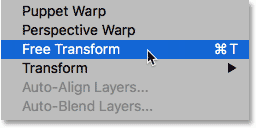
Become to Edit > Free Transform.
Photoshop surrounds the text with the Free Transform box and handles. Click and elevate any of the corner handles to resize the text every bit needed. Printing and concur your Shift key as y'all elevate to avert distorting the shapes of the letters as you're resizing them:
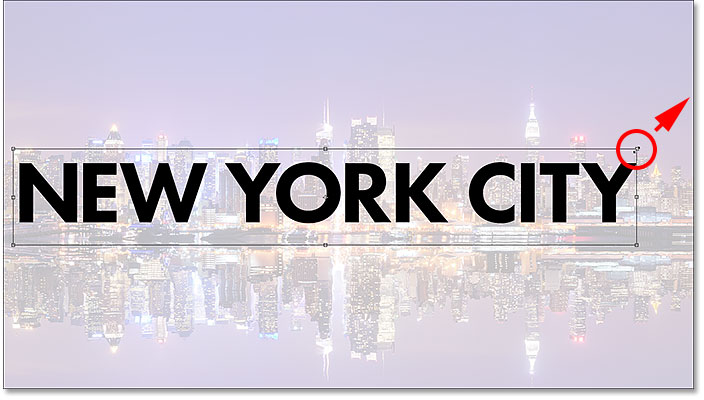
Concord Shift and drag the corner handles to resize the text.
To move the text, click inside the Free Transform box and drag it into position. I'll move my text in front end of the waterline. When you're done, press Enter (Win) / Return (Mac) on your keyboard:
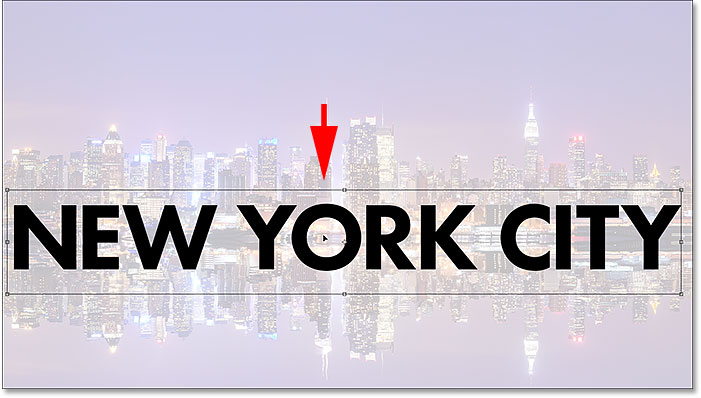
Click and drag inside the Complimentary Transform box to reposition the text.
Step 10: Open The Blending Options
With the Type layer selected, click on the Layer Styles icon (the fx icon) at the bottom of the Layers panel:
Clicking the Layer Styles icon.
Choose Blending Options from the top of the list:
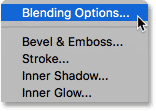
Choosing "Blending Options".
This opens Photoshop's Layer Mode dialog box set to the master Blending Options. In the Advanced Blending section, modify Knockout from None to Shallow. This turns the Type layer into a "knockout" layer, which means that Photoshop will use the shapes of the letters to punch through "Layer i" and reveal the image on the Background layer:
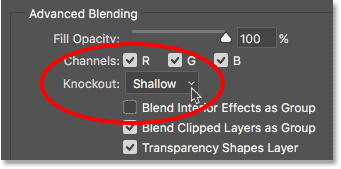
Setting the Knockout pick to "Shallow".
To see the upshot, drag the Fill Opacity slider all the way down to 0%:
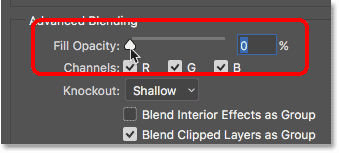
Lowering Make full Opacity to 0%.
Click OK to close the Layer Style dialog box. Not but has the text itself become transparent, but then has the area on "Layer 1" directly beneath the text, as if the text punched a hole right through it. We can now see the image on the Background layer through the letters:
The issue afterward turning the Type layer into a knockout layer.
Step xi: Select "Layer ane"
Let's resize the white area surrounding the text so that it'due south not roofing up the entire photo. Click on Layer 1 in the Layers panel to select it:
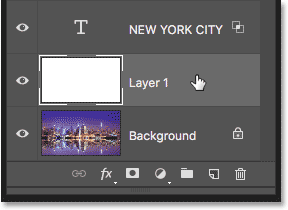
Selecting "Layer 1".
Footstep 12: Resize The Layer With Complimentary Transform
Become up to the Edit card and once over again choose Free Transform:
Become to Edit > Free Transform.
Elevate the acme and bottom handles in towards the text. Press Enter (Win) / Return (Mac) on your keyboard when you lot're washed:
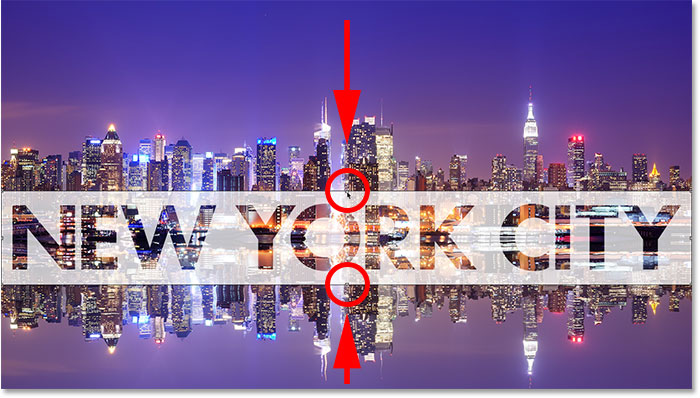
Resizing the white surface area surrounding the text with Gratuitous Transform.
Stride 13: Adjust The Layer Opacity
Finally, suit the opacity of "Layer 1" to fine-tune the visibility of the text. Increasing the opacity will make the white expanse surrounding the text more solid and the blazon easier to read. Decreasing the opacity will fade the text surface area into the image. I'll set the opacity to 85%:
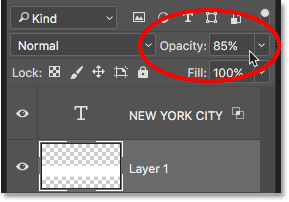
Increasing the Opacity value to 85%.
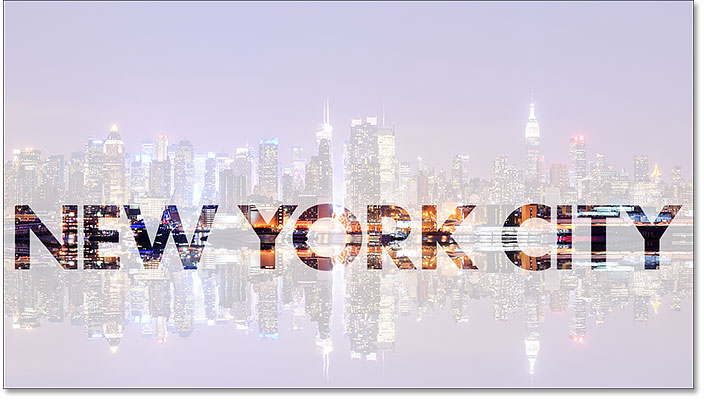
And here, after increasing the opacity, is my final "transparent text area" outcome:
The terminal transparent type issue.
Revealing A Layer Other Than The Background Layer
The steps we've covered in this tutorial are all y'all demand to exercise when the image you want to reveal through your text is on the Groundwork layer. If you have an image above the Groundwork layer that you want to show through the text, simply place the Blazon layer and the solid white layer beneath it in a layer group past selecting both layers, and so going up to the Layer carte and choosing Group Layers.
And at that place nosotros have it! That's how to hands add transparent text to an image with Photoshop! Along with calculation transparent text, some other classic Photoshop effect is to identify your image straight inside the text. Or, learn how to blend your text into the epitome past choosing blazon colors straight from the image itself! Visit our Photo Effects section for more Photoshop tutorials!
Source: https://www.photoshopessentials.com/photo-effects/transparent-text-area/
Posted by: alexanderacurt1959.blogspot.com
0 Response to "How To Make A Transparent Text Box In Word"
Post a Comment